Here at Yulio, we truly believe in putting our clients first, and ensuring we have created all the tools you will need for an extraordinary VR experience. As part of our continual commitment to producing a VR tool fit for business, we are so happy to announce our latest Custom Lobby feature!
From our founders to all members of our Yulio family, we believe and have seen the numerous ways you can use Virtual Reality. From a visualization tool in architecture and interior design to a piece of media for an upcoming marketing campaign, the opportunities with VR are endless.
However, when it comes to the tool and platform itself, oftentimes you have no choice but to work with the platform they have created. And while this doesn’t impede the functionality of the platform itself, we see the lack of customization a real loss in opportunity for businesses wanting to insert their branding into all stages in their experience.
That’s why we created our Custom Lobby feature.
Custom Lobby allows you to customize the environment you are in while viewing your device lobby on a VR headset or mobile. Now with the ability to select any scene from your Yulio account and make it the background for your portfolio, give your clients a taste of your work even before heading into the project you specifically designed for them.
How Does Custom Lobby Work?
To begin, make sure that the scene you would like to set as your Custom Lobby or Device Lobby background is currently in your Yulio account. If the scene is not yet in your account, create a new project and upload your desired scene.
Once your scene is in your account, click on your email address in the top right corner and select Company Settings.
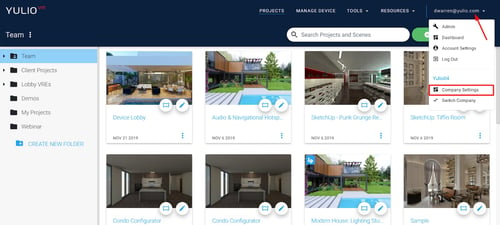
Pro Tip: If the scene is already in your Yulio account, we recommend making a copy of that project and re-naming the new project to “Device Lobby”. This will make sure there is no confusion across your team and no one edits the custom lobby by accident.
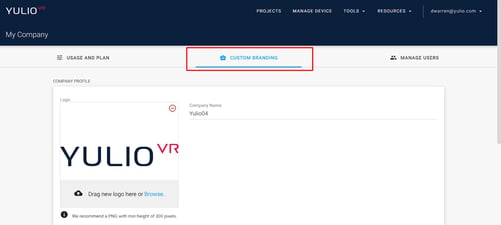
Then select Custom Branding.
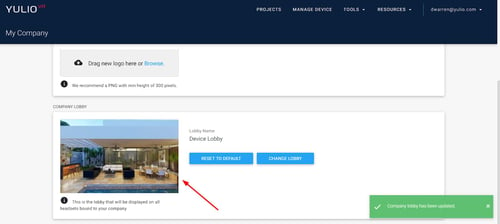
Scroll down to Company Lobby and then select Change Lobby.
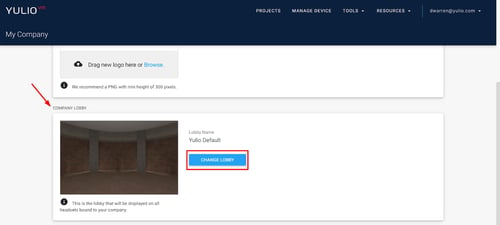
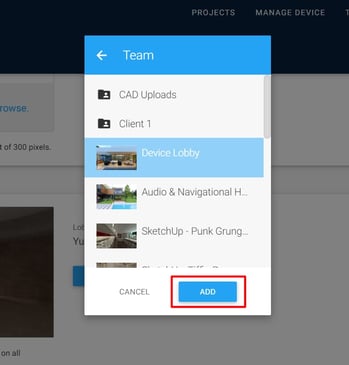
Head to the folder with your Custom Lobby scene and select the project you would like to make your background and click Add.
That’s it, your Custom Lobby has now been updated! You can change your Custom Lobby at any time by selecting Reset to Default or Change Lobby.
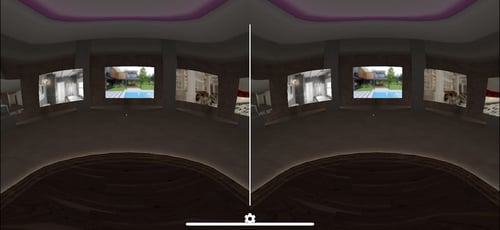
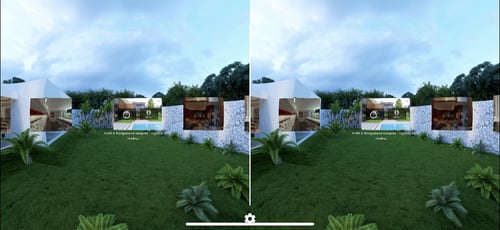
Here’s a before and after of our Customer Success Manager’s Custom Lobby - take a look:
Before
After
Pro Tip: The simpler the scene, the better. If you have a really “busy” background, your Device Lobby projects may get lost.
Our newest Yulio feature is now available for all Pro and Enterprise plans. If you would like a more in-depth how-to guide customizing your Device Lobby, you can check out our Knowledge Base article here. If you have any other questions on this feature or all other Yulio features, please reach us at hello@yulio.com - we would be more than happy to assist you.