In the competitive architecture industry, it is important that your firm stands out from your competition. You will want to make sure that you have the latest visualization methods and presentation tools to make your pitches and meetings memorable and impactful.
VR has become a tool used by many firms to help elevate their designs and presentations and make them more accessible to a wider audience, allowing them to grasp all the complexities of their designs. However, we understand that one might not know where to begin when looking to add VR to their workflow. However, Yulio has done the work to make things as easy as possible with our Revit to VR plugin, which is now available for all Yulio license holders.
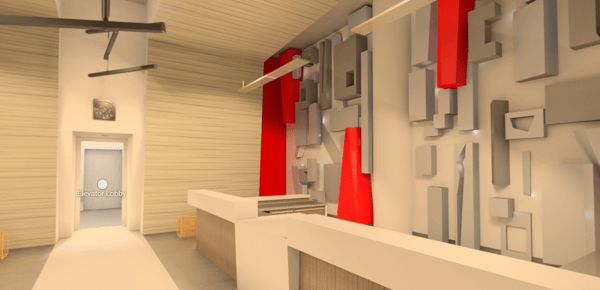
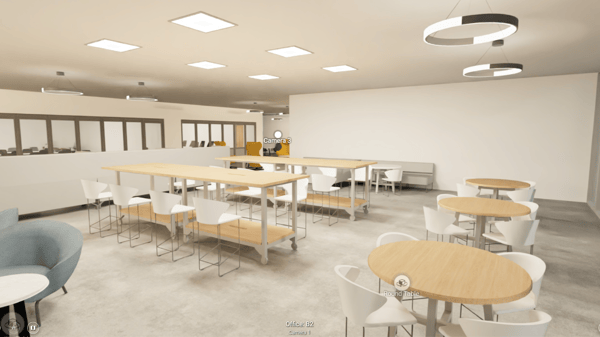
Below check out the process for using the Yulio Revit to VR plugin and see how easy it is to start creating, enhancing, and presenting your architecture projects in stunning VR.
The Ease of Cloud Rendering
If you currently use Autodesk Revit to generate renders, you can now use it with Yulio Jump to cloud render cubemaps or Yulio Jump Perspective to cloud render 2D perspective images directly from Revit. Yulio's CAD plugins including our Revit to VR plugin speed up your workflow by generating cube maps from within the CAD software. (Yulio is also compatible with a wide range of CAD tools even without the use of plugins, as long as your content meets file requirements. Learn more about Yulio’s file requirements here.)
Cloud rendering is a powerful tool that has a lot of benefits that include freeing up your device for more work, faster renders, and greater productivity with less machine time. You can check out our full breakdown on Revit and cloud rendering and get a better idea of how easy it can be to add to your workflow.
What do I need to create VR with Revit and Yulio?
Before you can start getting your clients into headsets, there are a few things you will want to make sure you have so that you can turn your Revit project into a VR experience with Yulio’s Revit to VR Plugin.
A Revit Project
This is an obvious one, but to make sure your project will be as immersive as possible you should make sure your design has at least four walls, a floor, and a ceiling. It can be disorienting for VR viewers to be dropped into a scene which is not fully enclosed. These are not absolutely required to create a render using the Yulio Revit to VR plugin, but these will make sure that your design looks more realistic to a viewer, and they will fill like they are actually in a real environment, getting the most accurate preview of the final product.
3D Views
To render a project in Yulio, you will need to have at least one 3D view set up using Revit. This is done using the camera tool under the “view” tab in a Revit project. Simply place the camera tool where you would like to create a VR view from. We also recommend setting the Eye Elevation and Target Elevation in the properties menu. For VR, we recommend a standing height of about 5” 6”. This will make the viewer feel as if they were viewing it from their actual point of view. The cameras selected for rendering must be within the boundaries of your selected floorplan. If one of the cameras is outside of the floorplan boundary, you will receive an error.
The Yulio Plugin
Another obvious component, but you will need to download the Yulio for Revit to VR Plugin. At the moment you can download and install the Yulio for Revit plugin directly from the Yulio website. Though it will be available in the Revit store in the near future. The plugin is free to download and use and will help turn your Revit project into immersive VR with just a few clicks.
A Yulio License
While the Yulio Revit to VR plugin is available to anyone to download, to actually render using Yulio Jump’s cloud rendering and access your VR project, one needs to have an active Yulio license to connect with the plugin.
To learn more about Yulio’s pricing plans you can learn more about those here, but we do also offer a 30-day free Yulio trial for new users. Feel free to try out the rendering power of Yulio.
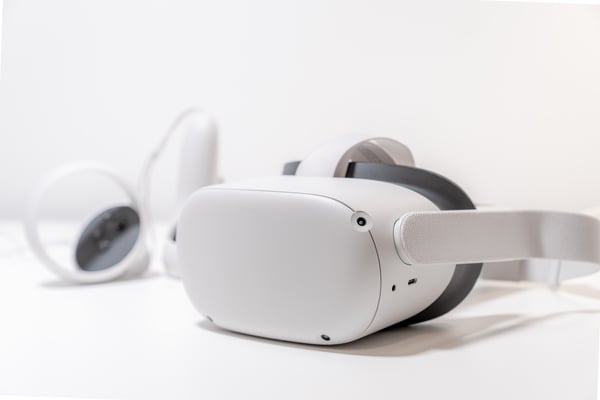
A VR Headset (Optional)
We highly recommend using a VR headset device to immerse your audience in your project. Our top recommendation is the Meta Quest 1 or 2, as they offer the best VR experience with controllers and true immersion. However, making use of VR accessories that you can use with a phone also is a suitable option. Yuilo is also compatible with the Quest Pro, although that headset is more expensive and may not be your chosen option to start your VR journey.
Using the Yulio Revit to VR Plugin
To render with Yulio Jump, select the “Add-Ins” tab and then select the Yulio VR Exporter icon. If this is your first time using the plugin, you will need to log in using the email address linked to your Yulio account. After doing so you can export your project and select some other options for your render including:
- Company: Select the company/Yulio account you would like the project to upload to
- Rendering tool: Select Yulio Jump or Yulio Jump Perspective.
- Yulio Jump: This will create a VR project and upload it directly to your Yulio account.
- Yulio Jump Perspective: This will create 2D perspective renders, these files will be emailed to you.
- Lighting Model: Select the lighting model you would like to render with.
- Select Project Folder: Select the folder in your Yulio account you would like the VR project to be created in.
- Select Scenes: Select the 3D views you would like to render.
- Add Navigation Hotspots: Auto Generate navigational hotspots for your project so you can move scene to scene when viewing in Yulio. Navigation hotspots are generated based on your view/camera positions.
- Export Augmented Reality Assets: Any items that you have tagged as AR assets will be rendered and inserted into your VR project as an AR hotspot. We will cover AR tagging in the next section.
- Add Floorplan: Auto-upload your floorplan to Yulio so users can orient themselves in the space.
Once you have selected all your preferences, select Create Project. Your project will begin processing and be sent directly to your Yulio account. You will receive an email notification with a link to view when the project is completed. That’s just how easy it can be.
You can find a full guide on how to use Yulio’s Revit to VR plugin here.