Here at Yulio, we’ve been hard at work creating our latest feature that will bring just that extra level of immersion to your VR experiences. So without further ado, we’re excited to introduce - Ambient Audio!
Ambient Audio allows you to add an audio clip that will play automatically when a viewer enters your scene or VR project. Prior to Ambient Audio, many of our users were using our Audio Hotspot feature to achieve background noise in their VR presentations. And while it still is a viable option to utilize our hotspots in this way, we knew we could do better.
Coupling background sounds or music with your scenes is a fantastic way to elevate your projects and “wow” your clients. You can upload any type of audio with this feature, and that includes soft music that can play in the background as your client soaks up your VR experience. Or, you can utilize our Ambient Audio feature by adding in white noise that corresponds with the environment of your scene. Whether it be the light chatter from colleagues in a break room or the sounds of typing from an office area, Ambient Audio is a fantastic way to make your projects even more immersive and believable.
How to Use Ambient Audio
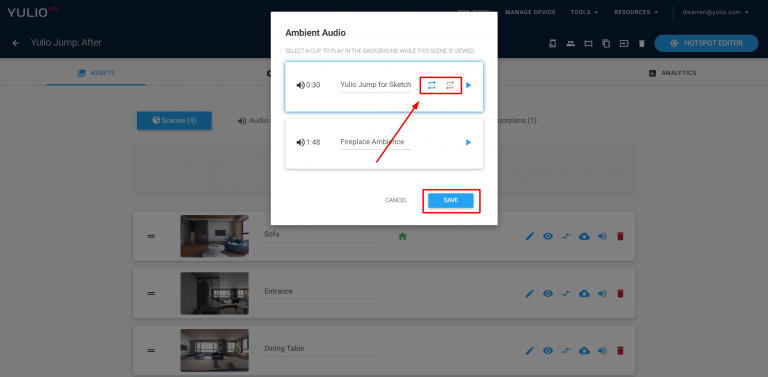
With Ambient Audio you can add an audio clip that will autoplay when a viewer enters the scene – you can add 1 audio clip per scene. When you assign your audio clip to your scene you can select whether you would like it to play once or loop while clients view your scene.
To add Ambient Audio to your scene, start off by logging into your Yulio account and select the project you would like to edit.
On the project page, select the Audio tab and upload your audio files to the upload box. Here you will upload your files for both your Ambient Audio and Audio Hotspots.
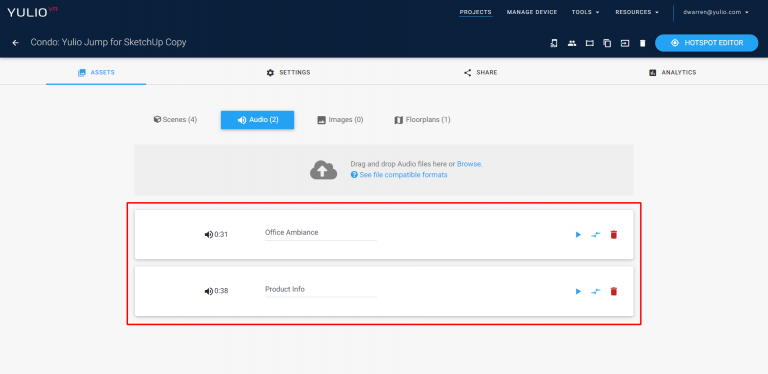
You can upload as many audio files as you like, but you can only assign one audio file per scene to autoplay.
Don’t forget, you can also upload audio clips to be added to your VR project as an Audio Hotspot. For a refresher on how to add audio hotspots to your scene, check out this article.
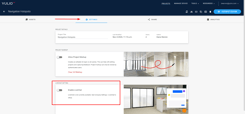
Next, go to the Scenes tab. To add your Ambient Audio, click on the Gear icon beside the scene you would like to add audio to.
From there, select the audio clip you would like to assign as your Ambient Audio for that scene and click Continue.
Repeat the steps above for every scene you would like to add Ambient Audio to.
Now, when you view your project - the Ambient Audio will autoplay for that scene.
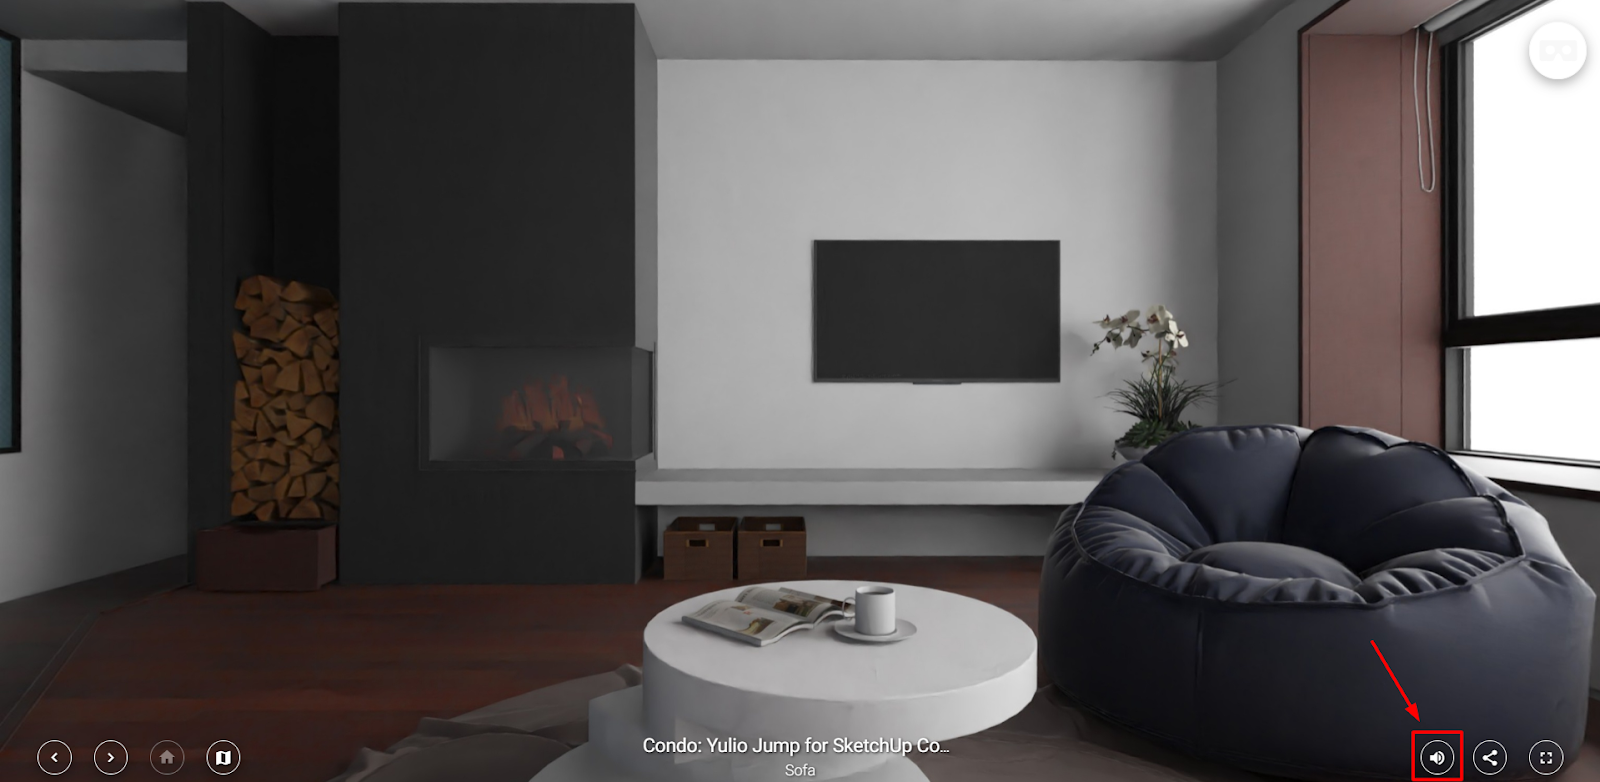
While viewing, you can mute the audio by clicking on the Audio icon in the bottom right hand corner.
That’s it! Check out this sample project with Ambient Audio: https://yulio.com/HUl5wDPx3L
Note: Make sure the audio on your computer/phone is turned up/on to hear the Ambient Audio
This feature is now available on all Yulio plans. So get started today with Ambient Audio -- we can’t wait to see what you’ll create.
To get the step-by-step tutorial on adding in Ambient Audio to your projects, head over to our Knowledge Base. For more information about our Yulio VR platform and to view our full line of features, check out our Product Tour page.